Hello everyone this is going to be my first post on my blog. I have decided to write about how I made my three tier topsy turvy star shaped cake. Now I made this cake for a sweet 16 party and when I was doing the research for the cake I could not find anything about a topsy turvy cake that is not round or square. So, I said to myself that once I made the cake I would blog about it. And here we are. Now before I start I will say that the next time I make a cake like this one I will definitely do some things differently.
First I made three star templates for each tier of the cake. To make it a lot easier to carve all three cakes into the perfect stars. The three tiers of my cake were 14 inches, 9 inches, and 6 inches and I made the stars 1 inch smaller. So the sizes of my three stars were 13 inches, 8 inches, and 5 inches.

Next I baked the three cakes, let them cool, and frosted all three cakes. Once all the cakes were frosted I put them all in the refrigerator so that the frosting can harden.


Once all the cakes were frosted I then carved them all into stars will the templates I made.


*Now this is one of the things I would do differently if I would make another cake like this one. I would not frost the outside of the cake until it was carved, and flipped to make it look topsy turvy. Very messy I know, lesson learned.

The next step, to give it the topsy turvy look, I carved the cake diagonally down the middle. I took the top part that I carved of the cake and flipped it; so, that the cake sloped downward. I then re-frosted all the cakes and put them back in the refrigerator so that the frosting can harden again.


I then took the star templates and used them to cut into the two cakes, the spot where the other cake will sit. So, I took the 14 inch bottom tier and cut a 9 inch star into the middle of the cake at an angle.


I did the same thing with the 9 inch cake and cut a 6 inch star at an angle into it.

*Hint cut the star into the cake a little bigger than the template to anticipate the fact that the cake will be a little bigger due to the frosting and fondant.
I then re-frosted the cut portion and put both cakes back in the refrigerator so they can once again harden. Finally, it was time to cover the cakes in fondant. I first covered the 6 inch cake in fondant while I waited for the other two to firm up a bit.
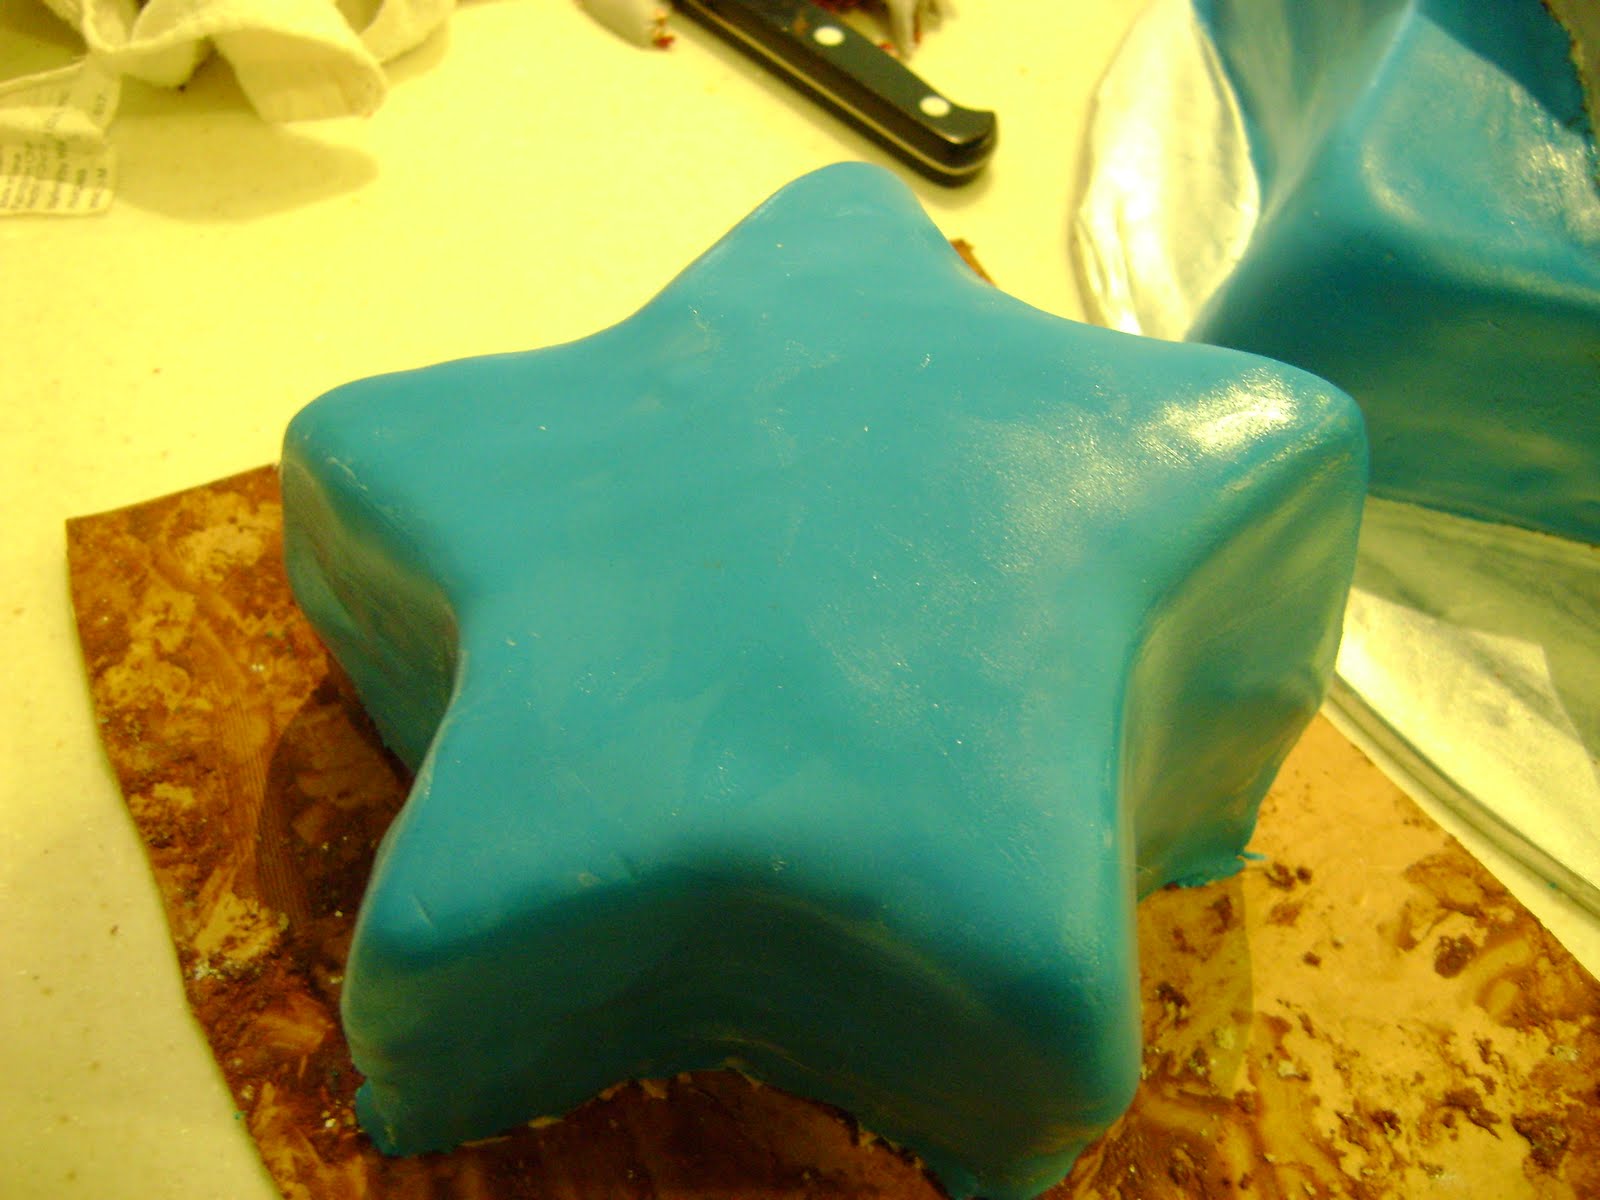
I then covered the other two in fondant.

For the middle tier she wanted silver. So, I made grey fondant and once I had the cake stacked painted the tier with silver color, and luster dust.

I then put dowels in both the bottom and middle tier for support and stacked the cake.


